Crochet old fashioned throw blanket in 12 sizes! Does your couch feel a little… unfinished? Like there’s a cool, inviting blank space just waiting to be filled? You know that feeling – the one where you wish for a cozy layer to complete your living room vibe but can’t quite find the *perfect* fit? I totally get it. Imagine this: a wonderfully soft, handmade throw, draped just so over your sofa or armchair, adding instant warmth and a touch of nostalgic charm. With this free pattern, you can create that dream blanket. It’s surprisingly affordable, requiring just a few skeins of yarn, and can be a delightful weekend project. In this guide, you’ll learn how to easily stitch your way to not just one, but 12 different sizes, ensuring you have the ideal handmade comfort for every spot in your home.
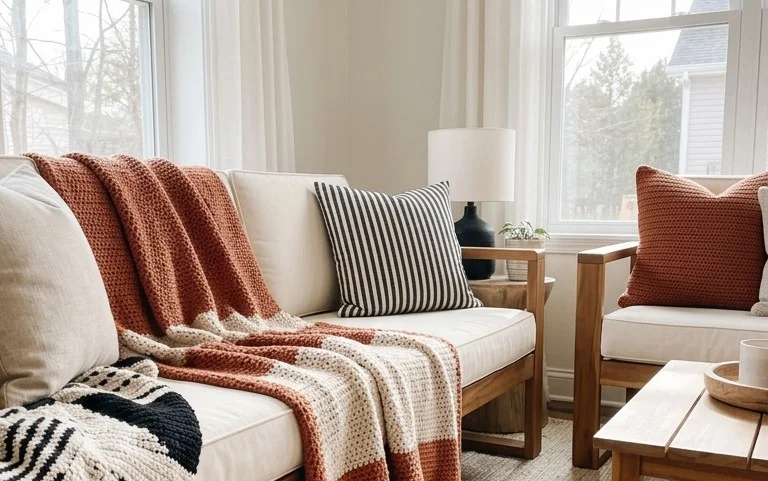
Bring Cozy Charm Home with an Old-Fashioned Crochet Throw Blanket – In 12 Sizes!
There’s something undeniably comforting about a hand-crocheted blanket. It evokes memories of simpler times, warm hearths, and a sense of lovingly made coziness. Today, I want to share with you a truly special project: an old-fashioned crochet throw blanket pattern that’s designed to be made in *twelve* different sizes! From a small accent piece to a generously sized bedspread, this pattern offers incredible versatility. And the best part? It’s a free pattern, accessible to everyone. Let’s dive in and create a piece of handmade warmth for your home.
Gathering Your Supplies: What You Need and Roughly What It Costs
Before we embark on this delightful crochet journey, let’s talk about what you’ll need. The beauty of this pattern lies in its simplicity, making it perfect for beginners and experienced crocheters alike.
* **Yarn:** For this old-fashioned throw, I recommend a medium-weight yarn, often labeled as Worsted Weight (#4). Acrylic yarns are a fantastic choice because they are durable, washable, and come in a vast array of beautiful colours. Wool blends can also offer wonderful warmth and texture, but be mindful of their care instructions. For the smallest size (a small lapghan, approximately 30 x 40 inches), you’ll likely need around 800-1000 yards of yarn. For the largest size (a king-sized bedspread, roughly 100 x 110 inches), you could be looking at anywhere from 3500 to 4500 yards. A typical skein of worsted weight yarn is around 200 yards, so for a medium-sized throw (e.g., 50 x 60 inches), you might need 6-8 skeins.
* *Rough Cost:* Based on acrylic yarn ranging from $4-$8 per skein, a small throw could cost you between $20 and $40. A larger, king-sized throw could range from $90 to $180. You can often find great deals by buying yarn in bulk or during sales!
* **Crochet Hook:** A 5.0 mm (H/8) crochet hook is usually recommended for worsted weight yarn, but always check your yarn’s label for specific hook size suggestions. It’s a good idea to have a couple of sizes on hand, as your tension might require a slight adjustment.
* **Scissors:** A sharp pair of scissors for cutting yarn.
* **Yarn Needle:** For weaving in all those beautiful yarn ends.
* **Measuring Tape:** Essential for ensuring your blanket is the perfect size.
Measuring and Planning: Setting Yourself Up for Success
The “12 sizes” aspect of this pattern is where the real magic happens. To make the most of it, a little planning goes a long way.
* **Determine Your Ideal Size:** Think about where you envision this blanket. Is it for snuggling on the couch? To drape over the foot of a twin bed? Or perhaps a cozy addition to a queen-sized duvet? Measure the space you intend to cover. For instance, a sofa throw often looks best when it’s about two-thirds the width of the sofa. A bedspread should ideally have enough drape to go over the sides of the mattress.
* *Example:* If your sofa is 80 inches wide, a throw around 53 inches wide would be a good starting point.
* **Understand the Pattern Repeat:** This old-fashioned pattern likely uses a repeating stitch combination. Knowing the stitch count per row and the number of rows in one full repeat will allow you to calculate how many repeats you need for your desired dimensions. The free pattern should clearly outline this.
* **Swatch Test (Optional but Recommended):** Before committing to a large amount of yarn, crochet a small swatch (around 4×4 inches) using your chosen yarn and hook. Measure how many stitches and rows you get per 4 inches. This will help you confirm if your tension is consistent with the pattern’s gauge and if you need to adjust your hook size.
The Crochet Journey: A Step-by-Step Walkthrough
This old-fashioned pattern is typically built row by row, creating a beautiful, textured fabric. While the specifics will be in your free pattern, here’s a general walkthrough of the process:
1. **Foundation Chain:** Begin by creating a foundation chain that is the desired width of your blanket. The pattern will specify the number of chains needed for each size or provide a guide for calculating it based on the stitch repeat. For example, a pattern might say “Chain 150 stitches for a small throw.”
2. **First Row:** Work the specified stitches into the foundation chain, following the pattern’s instructions. This might be single crochet, double crochet, or a combination. For an old-fashioned feel, a simple stitch like the double crochet or a textured stitch that creates a subtle pattern is often used.
3. **Subsequent Rows:** Turn your work and begin the next row. You’ll typically work into the stitches of the previous row. The pattern will guide you on the stitch sequence for each row. Many old-fashioned patterns create a pleasing symmetry by having slightly different stitch patterns on alternating rows, or by repeating a two-row sequence.
4. **Repeat and Grow:** Continue crocheting row after row, following the pattern’s instructions. This is where the blanket starts to take shape. You’ll be repeating the stitch pattern until your blanket reaches the desired length.
5. **Finishing Off:** Once you’ve reached the desired length, you’ll fasten off your yarn. This involves cutting the yarn, pulling the tail through the last loop on your hook, and pulling it tight.
6. **Weave in Ends:** This is arguably the most time-consuming part of any crochet project, but it’s crucial for a neat finish. Using your yarn needle, carefully weave each yarn tail back and forth through the stitches on the wrong side of your blanket. Try to weave them in multiple directions to prevent them from unraveling.
Adapting for Small Spaces and Rentals: No Drilling Required!
One of the joys of a crochet blanket is its inherent portability and adaptability. Here’s how to make it work even if you’re in a rental or have limited space:
* **Small Space Styling:** If you have a smaller apartment or a cozy nook, opt for one of the smaller blanket sizes. A lapghan (around 30 x 40 inches) is perfect for draping over an armchair or the back of a sofa, adding a touch of texture and warmth without overwhelming the space.
* **Rental-Friendly Draping:** The beauty of a blanket is that it requires no installation. You can simply drape it!
* **Over Furniture:** Drape it over the arms or back of sofas and chairs.
* **On the Floor:** A smaller, square blanket can create a cozy floor cushion or rug in a reading corner.
* **On Bedding:** Layer it over your existing duvet or bedspread for added warmth and a pop of color.
* **Wall Art (Temporary):** For a truly unique rental-friendly statement, you could carefully drape a larger blanket over a curtain rod or a sturdy wall-mounted hook (if permitted and safely secured) to create temporary wall art. Just ensure it’s not a fire hazard and is easily removable.
Styling Notes: Bringing Your Blanket to Life
A crochet blanket isn’t just about warmth; it’s a key decorative element.
* **Colour Choice:**
* **Neutral Palette:** Cream, ivory, beige, or soft grey are classic choices that will seamlessly blend with almost any decor. They evoke a timeless, serene feel.
* **Pop of Colour:** Don’t be afraid to use a bolder colour! A deep navy, a warm rust, or a vibrant teal can add personality and become a focal point in your room.
* **Variegated Yarns:** Yarns that change colour as you crochet can create a beautiful, organic look without you having to change colours manually.
* **Texture Play:** Combine your crochet blanket with other textures.
* **Contrast:** Place it on a smooth leather sofa or a crisp linen armchair to highlight its soft texture.
* **Layering:** Layer it with other throws or pillows made from different materials like faux fur, chunky knits, or velvet.
* **Placement:**
* **The Casual Drape:** This is a go-to for a reason. Fold the blanket in half lengthwise and then in half again widthwise, and casually toss it over the arm of a sofa or the corner of an armchair.
* **The Folded Tuck:** Fold the blanket neatly and place it at the foot of a bed or on the seat of a bench.
* **The Shoulder Hug:** For a smaller throw, drape it over the back of a chair, allowing it to fall down the seat. This creates a cozy, inviting look.
* **Strategic Clutter (The Good Kind!):** Once in use, don’t aim for perfection. A slightly rumpled blanket, perhaps with a book or a remote placed on it, looks lived-in and inviting.
Keeping it Tidy After Week One: Maintaining the Cozy
Once your beautiful blanket is out in the world, a little upkeep ensures it stays looking its best.
* **Regular Shaking:** A quick shake outdoors once a week can help to dislodge dust and debris.
* **Occasional Refolding:** If it starts to look a bit too rumpled, take a few minutes to refold it neatly. This helps maintain its shape.
* **Spot Cleaning:** For minor spills, blot the area immediately with a clean cloth. For more stubborn stains, consult your yarn’s care label. Acrylic is generally machine washable, but always err on the side of caution.
* **Wash Wisely:** If you need to wash the whole blanket, use a gentle cycle with cool water and a mild detergent. For wool or wool blends, hand washing is often recommended. Always lay flat to dry to prevent stretching.
Common Mistakes That Make This Project Fail
Even with a simple pattern, a few common pitfalls can lead to disappointment. Let’s avoid them!
* **Ignoring Gauge:** Not checking your gauge (swatching) is the number one reason a project ends up too big or too small. If your swatch is significantly different from the pattern’s gauge, adjust your hook size.
* **Tension Issues:** Inconsistent tension – where your stitches are sometimes tight and sometimes loose – will result in an uneven fabric. Try to maintain a consistent grip on your yarn and hook.
* **Not Weaving in Ends Properly:** Skipping the step of weaving in ends securely is a recipe for disaster. Loose ends can unravel, and your beautiful blanket can start to fall apart. Take your time with this crucial step.
* **Using the Wrong Yarn Type:** While acrylic is forgiving, using very delicate or very heavy yarns without adjusting the pattern can lead to undesirable results. Stick to the recommended yarn weight for the best outcome.
* **Skipping the Planning Phase:** Jumping straight into chaining without considering the final size and how the stitch repeat works can lead to a blanket that’s the wrong dimensions and a lot of wasted yarn and effort.
Creating an old-fashioned crochet throw blanket is a rewarding experience that brings tangible comfort and beauty into your home. With this free pattern and a little guidance, you can craft a treasured piece that will be loved for years to come. Happy crocheting!
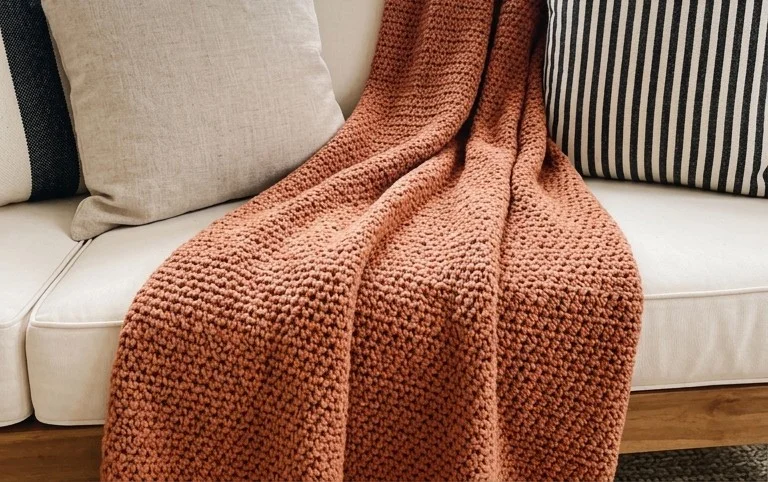
Conclusion
Imagine the simple joy of a handmade crochet old fashioned throw blanket gracing your home. It’s more than just a pretty addition; it’s about infusing everyday moments with warmth, comfort, and a touch of nostalgia. A cozy throw draped over a chair or sofa instantly elevates a room, making it feel more inviting and lived-in. You can create this comforting ambiance yourself!
Ready to start? Your smallest first step could be as simple as gathering your yarn and hook for the baby size. It’s a manageable project that will bring immediate satisfaction. For a different feel, consider a smaller, brightly colored cushion cover for a splash of color, or perhaps a set of dishcloths for a budget-friendly burst of handmade charm. We have so many more delightful ideas waiting for you to discover and bring more handmade beauty into your life!